
Hello, everyone! Welcome to a new week! I am impressed with the many thoughts, ideas and Mother's Day gifts that you've all posted last week. Fantastic! Mom's going to love them! You know, mom use to call me "Mama Lisa" because I took care of all of you just like I was your mom. Just saying, you know, in case you'd like to show your appreciation. Ahem....
Anyway, now that we've shared our thoughts on all the moms in our lives, let's talk about the person that we've all accidently called "mom" at one point or another: our teacher! As a child, I loved school! I looked forward to it and thought summer was way too long! My teachers were a big part of that love of learning! I can name almost every teacher I've had from preschool (mom!) through high school. They not only helped me to learn what I needed to prepare me for life, but they also set me on my path by opening new possiblities! Now that I'm a mom myself, I have a new respect for their hard work and the attention they give to my children! So, in their honor, this week our theme is "Teacher's Appreciation Week"!
My craft for this week is a little book bag that I can't take any credit for becasue my dear sister-in-law, Heather from Quilt Story, taught me how to do it and even supplied some beautiful fabric for it!! Thanks, Heather! Anyways, the bag is really not too difficult. I wanted something that the kids could help out with (mostly). I've included lots of pictures to help along the way!
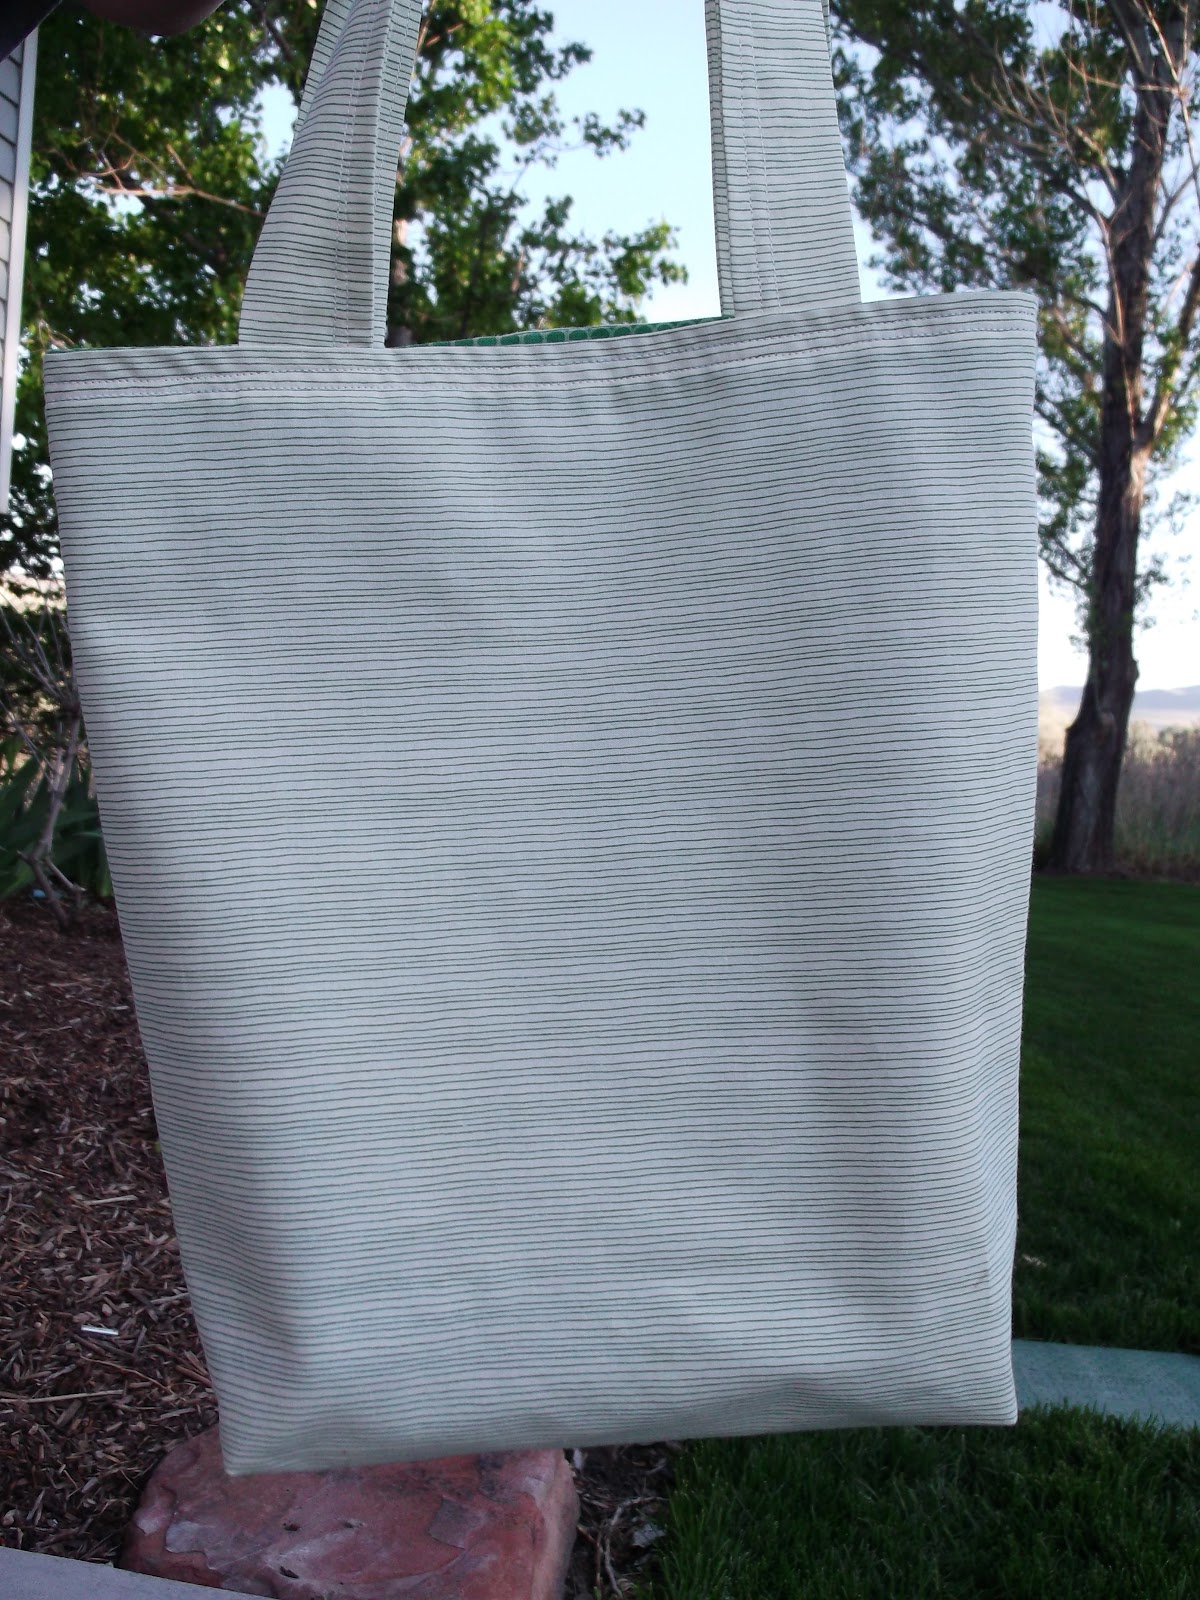
 First step is pick the fabric. I went with green because I wasn't sure if my son's teacher would like some of the brighter, louder prints and colors! You'll need a fabric for the outside (we'll call this fabric A) and another for the inside (fabric B) plus more for the straps. You can make your bags any size you'd like but here are the dimensions I used, if you'd like them:
Body: 15" width x 34" length (Use this measurement only if your fabric has no up or down directional pattern like my green stripe on the left. If it is a directional print then just cut 2-17" lengths using the same width as before). You'll need one cut out of fabric A & fabric B. A half of a yard of each was plenty for my bag.
Straps: 2-3.5" width x 26" length (I used the fabric A for the straps)

The next step is to straight stitch up the sides and the botttom of both of the body pieces leaving the top unstitched on both. I had my son help with this step. You might be able to see the blue painter's tape I put on my machine to mark the 1/2" hem. It was an idea I got from my mother-in-law and really seems to help. My kids, that is. Oh all right. It helps me, too!
+Teacher+Appreciation.jpg)
Now that the body for both fabric A&B are sewn, we are going to make a square bottom for our bags. Start with one of fabric A's bottom corners. Take the bottom fold and line it up with the side seam next to it. Pin it in place. Measure 1.5" (or whatever width you'd like the bottom of the bag to be) in from the corner and mark with a pencil. Next sew a straight stitch along the line you just marked and then cut off the corner.

Now for the straps. Take the fabric you previously cut and fold it in half length wise so that your fabric is inside out. Straight stitch a seam along the length of the strap. Turn the strap right side out. I used another handy tip from my mother-in-law and attached a safety pin to one end of the fabric. I then sent the pin through the strap and bunched the fabric up as I went along. I then pulled the fabric through. Nice and easy! To finish off the straps, iron it and run another straight stitch up along the length of the fabric again.
 On to the assembly of the bag. Take fabric A and turn it right side out. Take fabric B and turn it inside out. Now take fabric A and put it inside fabric B, making sure that the seams line up with each other. At this point, the right sides of the fabric should be facing each other and the lining should be on the outside. Next come those pesky straps! Take on strap and sandwich it between the two layer making sure the end of the straps are sticking out the top of the bag. Now measure 2.5" (or whatever you'd like just so long as you are consistent so that the straps of the bag will line up with each other) from the side seam and pin the end of the strap to both the fabrics. Repeat with the rest of the straps and ends. It should look like the picture above at this point. Next, sew a straight stitch around the top of the bag but make sure to leave about a 4" hole so that you can turn the bag right side out.
With the bag right side out, you are almost done! Just iron the bag and run another straight stitch around the top to lock the seam in place and to close the hole we left. And now you're finished!! See, not so hard, right?!

 |
Finished! I couldn't resist adding an applique of my son's drawing to the bag. It was quite easy and ended up very cute, if I do say so myself!

Here is the little book worm book bag my daughter is giving to her teacher, as well! They are very sweet little projects. Mmm...I might need to make myself one of these babies!
Well, on to you, Allison! I can't wait to see all the wonderful things you guys post! Love you!
Lisa
What a great idea! I'm sure it would definitely get used. I love the book worm on the last one :)
ReplyDeleteLove it, Lisa! I need you to teach me to applique. :)
ReplyDeleteSO CUTE!! That is such a wonderful idea! I love the owl, that is a great idea. I need to try these. Great post sister!
ReplyDelete--Shauna (p.s. I need to get my own gmail account!)