Tuesday, March 26, 2013

Boston Cream Pie Cupcakes

Have you ever tried a recipe that was just so delicious that you wanted to share it with the world?  Well, I have one of those oh-my-goodness-this-is-amazing recipes.  I found the original recipe here on Ms. Martha Stewart's site (so of course it will be heavenly, right?).  Enjoy!


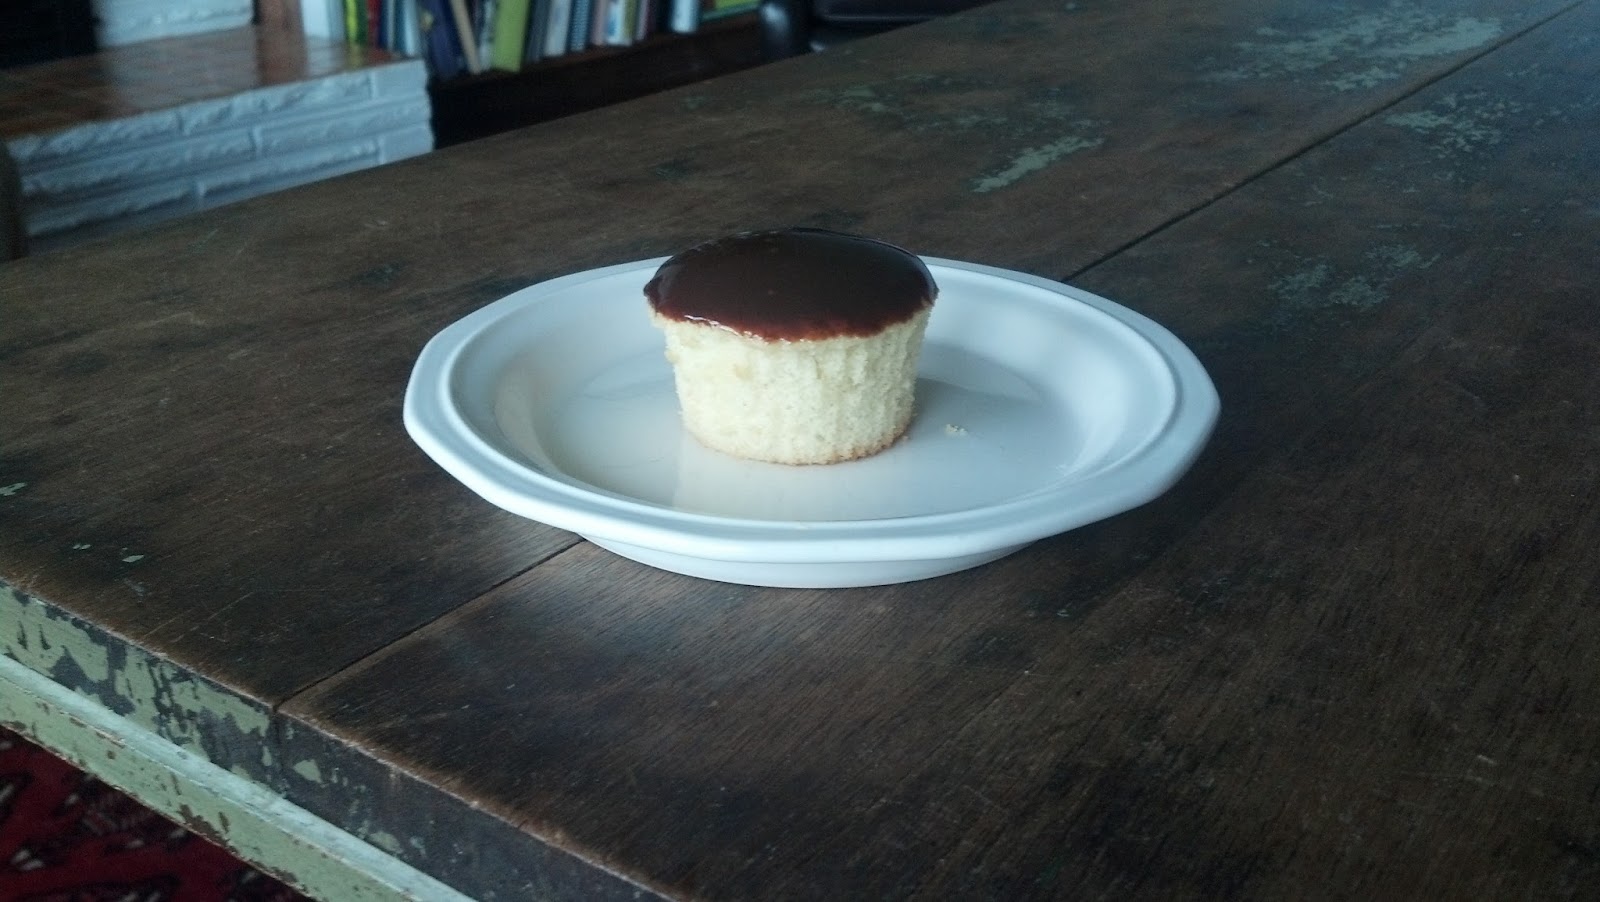
BOSTON CREAM PIE CUPCAKES

Directions for cupcakes:


Ingredients
  • 1 1/2 cups all-purpose flour
  • 1 1/2 teaspoons baking powder
  • 1/2 teaspoon salt
  • 1/2 cup whole milk
  • 6 tablespoons unsalted butter, softened
  • 3 large eggs
  • 1 cup sugar
  • 1 teaspoon pure vanilla extract
  • Vanilla Cream (directions at the bottom) - I doubled this recipe to ensure I would have enough cream for all 20 cupcakes this recipe made.  I was glad I did because we ate the extra cream :)
  • Chocolate-Ganache Glaze (directions at the bottom)
Directions:
  1. Preheat oven to 350 degrees. You can either butter and flour a muffin tin or do like I did - use cupcake liners.  Whisk together flour, baking powder, and salt in a small bowl. 
  2. Beat eggs and sugar with a mixer on high speed until thick and pale, about 5 minutes. Beat in dry ingredients.
  3. Bring milk and butter to a boil. With mixer on low speed, add milk mixture to batter, and beat until smooth. Add the vanilla. Divide batter among muffin cups, filling each halfway. Bake cupcakes until light gold, about 15 minutes. Let cool in tins for 10 minutes, then transfer to wire racks. Let cool.  When my cupcakes were cool, I then took the paper liners carefully off of them.
  4. On the Martha Stewart site, she cuts the cupcakes in half and puts the cream in the middle.  That is a bit too messy to eat for me so instead I put the cream into a pastry bag and pipped the cream into the cupcake.  It was super easy and very nice and tidy.  After the cupcakes were all filled, I dipped the top into the ganache.  I had a bowl of extra ganache on the side for those who like a little extra chocolate.

Directions for Vanilla Cream

Ingredients for Vanilla Cream:
  • 2 large egg yolks
  • 1/4 cup sugar
  • 2 tablespoons plus 1/2 teaspoon cornstarch
  • Pinch of salt
  • 1 cup whole milk
  • 1/2 teaspoon pure vanilla extract
Directions
  1. Whisk yolks until smooth. Mix sugar, cornstarch, and salt in a medium saucepan over medium heat. Add milk and start whisking. Cook, stirring, until mixture begins to bubble and thicken, about 5 minutes.  Make sure to keep stirring because the bottom of this mixture can burn easily.
  2. Pour 1/3 of milk mixture into yolks, whisking constantly. Return egg/milk mixture to saucepan, and cook over medium heat, again, stirring often, until thick, 2 to 4 minutes. Stir in vanilla.
  3. Pass vanilla cream through a fine sieve into a bowl (I didn't do this and mine did not turn out too lumpy). Press plastic wrap directly on surface. Refrigerate until cold, at least 1
    hour, or up to 2 days.

Directions for Chocolate-Ganache Galze:

Ingredients:

  • 2/3 cup heavy cream
  • 6 ounces semisweet chocolate, finely chopped
  • 1 tablespoon light corn syrup

Directions:

  1. Bring cream to a boil in a small saucepan.Remove from heat, and add chocolate and corn syrup. Let stand for 5 minutes. Whisk until smooth. Transfer to a bowl, and let cool, stirring often. I let my ganache sit for quite a while before dipping my cupcakes into it.


Thursday, March 21, 2013

Allison: Toddler Muffins

Hi!  My name is Allison... I used to contribute regularly to this blog.  Remember me?  Yep, I'm back.  I have no idea how, but time has just slipped away from me these last few months.  It might have to do with sick babies and just daily life.  But I have some creative opportunities coming up in the near future, and I thought I'd better get back in the habit of blogging.

Anyone out there have really picky eaters in their house?  I knew that my little Isla (2 1/2 years old) was picky, but lately, it's gotten so much worse!  There are days where she'll skip lunch AND dinner.  My skinny little girl seems to be getting even smaller, and it's started to worry me a little.  She's definitely more of a snacker, and I've found myself giving her things I wouldn't normally, just to get her to eat something.


So when I found this recipe here for "Toddler Muffins", I knew I had to give them a try.  Here's the best proof if they were liked or not:


She loved them and ate 3 for breakfast.  The only foods we've been able to get her to eat for breakfast are cinnamon toast (or "sugar toast", as she calls them), and french toast with syrup.  Can you find the theme here??  This girl definitely likes sugar (I have no idea where she gets that from)!

I didn't modify the recipe too much.  I didn't have oat bran in the house, but saw that others had substituted oats or flax seed.  I had ground flax seed in my house (weird, I know), so I used a 1/4 cup and a 1/4 cup of oats.  I'm sure a half cup of oats would work just great too.  For the baby food ingredient, I'm sure any pureed veggie would work.  I had a baby food pouch of pear and butternut squash that I used.  I also only added a 1/4 cup butter instead of 1/2 cup.  That seemed like a lot.  They still turned out super moist and delicious.  I also added raisins.  Because of the bananas, they tasted a lot like banana bread.  Yum!  They yielded 24 mini muffins, with enough left over to make a mini loaf.

Well, I hope this recipe helps some of you with little ones that have a mind of their own when it comes to food.  I'm hoping to make a few more adjustments (maybe wheat flour?), or adding more veggies.  Whatever it takes to get them eating their fruits and veggies, right?  Until next time... have a great week!


Allison

Tuesday, March 5, 2013

Sara Jane: Apple Cider Vinegar...Wart treatment???

Alright folks, this is probably my most random entry ever but I have to share with you an exciting tip I received.

My oldest daughter has had a plantar wart on her big toe for about a year.  I feel like I have tried the over-the-counter salicylic acid  (Compound W) 20 times in the last year.  A few months ago, I gave up on this wart and decided I would try again later.  However, when I went back to try again, there was ANOTHER wart on her other big toe.  Ahhh!  When I went to the store to get more wart remover, ran into a friend who said she had just seen something about apple cider vinegar getting rid of warts. What?!?  I ran home and looked it up on the internet and sure enough, there were hundreds of testimonials that it would work.

That night I got to work.  I made a q-tip size cotton ball, soaked it in the vinegar, pressed it against the wart and covered it with a band aid.  All the testimonials said it did hurt pretty bad but within about 3 or 4 days the pain was gone and so was the wart.

The first night, no pain.  The skin was definitely dying around the wart the next day though.  The second day, however, my daughter was extremely upset by how bad her toe hurt.  That night, it took her a long time to fall asleep because of the pulsing pain in her toe.  The next day, more skin was dead and the wart was black.  By the third day of trying this, I gave up because of her constant complaining.  Abraham and I decided we had better take her in and have a doc take care of it.  Better the doctor put her through pain than us, right?

So, here we are a week later (I waited a week so the skin on her toe could heal.  I was afraid the doc would think I was a bit nuts :).  Yesterday I took Penelope to the foot specialist and to my surprise, she praised the work I had done on her foot and said that Apple Cider Vinegar is actually one of the greatest remedies for warts if you can get through the pain.  AND that wart that I have been working on for the last year is actually gone!  All that is left is dead skin.  IT WORKED!!!!!!  As for the little wart on her other big toe, the doc put something on it and today it is killing Penelope :)  Oh well...you can't win them all.  

We are all about doing stuff the natural way when we can and I am so glad to have found this remedy.  Has anyone else ever tried it and had good results???